
Newsletter Subscribe
Enter your email address below and subscribe to our newsletter
Enter your email address below and subscribe to our newsletter
Exploring Scottish Folk Practices and Traditions
I’ve been chatting about wormeries and worm farms on social media for a few days and folks have been asking how to make a wormery or a worm farm and what the benefits are. I’ve had a wormery or worm farm for over 5 years and they are great for fellow nature enthusiasts who care about permaculture and sustainability!
If you’re passionate about sustainable living and gardening, then you’re in for a treat. We’re going to explore the world of wormeries and why they’re so fundamental to have. Plus, I’ll guide you through a step-by-step process to build your very own wormery or worm farm from scratch. Get ready to witness the magic of these wiggly wonders!
Alright, let’s talk about what worms, worm farms or wormeries bring to the table:
Worms taste with the entire bodies. Their body allows them to taste what they are in and amongst and these special body cells also allow them to smell. By sensing smells and tastes in the soil worms can work out where they need to go to find food.
Worms may not elicit the same response as a cute panda or become the face of a conservation campaign but worms’ role in providing essential ecosystem services is huge. In fact worms have been ranked as the number one most influential species in the history of the planet. They provide soil enrichment, nutrient cycling, water regulation, carbon sequestration and biodiversity support amongst many other things. In fat Darwin wrote a whole book about them.
As an aside, Earthworms were held to be of great therapeutic value and Dalyell’s The Darker Superstitions of Scotland (1647) describes “A child being stripped was rubbed with the oyle of wormes [and] held over the reik of a fyre”, all for the good of its health. For a worm in the cheek, a cure is at hand. Toothache was believed to be caused by a worm in the tooth or jawbone. A cure could be effected using a charm, called “wormy lines”, which was written on a slip of paper. This charm was then disposed of in some way. In fact worms have been associated with ill health in bodies for a long time and still are in same parts of the world and belief. Many cures we have remove the “worm” from the person. other times our anglo Saxon neighbours woudl use worms as a cure in itself.
Balds Leechbook III use earthworms and ants in the case of severed or shrunken sinews:
Gif sinwe syn forcorfene nim renwyrmas, gecnuwa wel, lege on oþ þæt hi hale synd. Gif sinwe sien gescruncene nime æmettan mid hiora bedgeride, wyl on wætre & beþe mid & rece þa sinwe geornlice.
[If the sinews are cut, take earthworms (lit. rain-worms), pound them wel, lay them on until they are whole. If the sinews are shrunk, take ants and their nest, boil in water and bath therwith the sinews and expose them earnestly to the smoke]
Anyway enough about folk magic how do we build a worm farm? Let’s dig in …
Step 1: Container Chronicles Okay, let’s get down to business! You’ll need a few containers for your wormery. It can be a few plastic bins, wooden boxes, or even like me you could just start with an old a bathtub (we used an old glass shower door painted black for the lid on the bathtub). Just make sure whatever you use has a lid to keep your worms happy and safe. If you are using multiple boxes make sure they fit into each other and not stack as they’ll need to contact the layer beneath. This will make sense later. Make sure the Worm farm is kept in a shady cool spot, so it doesn’t overheat.
Step 2: Drainage Drama To prevent your wormery from turning into a soggy mess, we need to create proper drainage. Drill some small holes in the bottom of your container, ensuring that excess moisture can escape. Trust me, your worms don’t like to swim. Each layer should have small holes in the bottom. You can drill them and space them about 3 cms apart. Make sure you drill from the inside out to avoid creating a burr. The bottom layer must not have any hole in it though as this will collect your worm wee or tea. If your like, you can fit a tap into the bottom layer to help with drainage easily.

Step 3: Bedding Bonanza Time to create a cosy bedding layer for your worms. Shred some newspaper or cardboard into thin strips and dampen them slightly. Spread this layer at the bottom of your container, about 4 to 6 inches thick. It’s like giving your worms a soft and snuggly mattress.
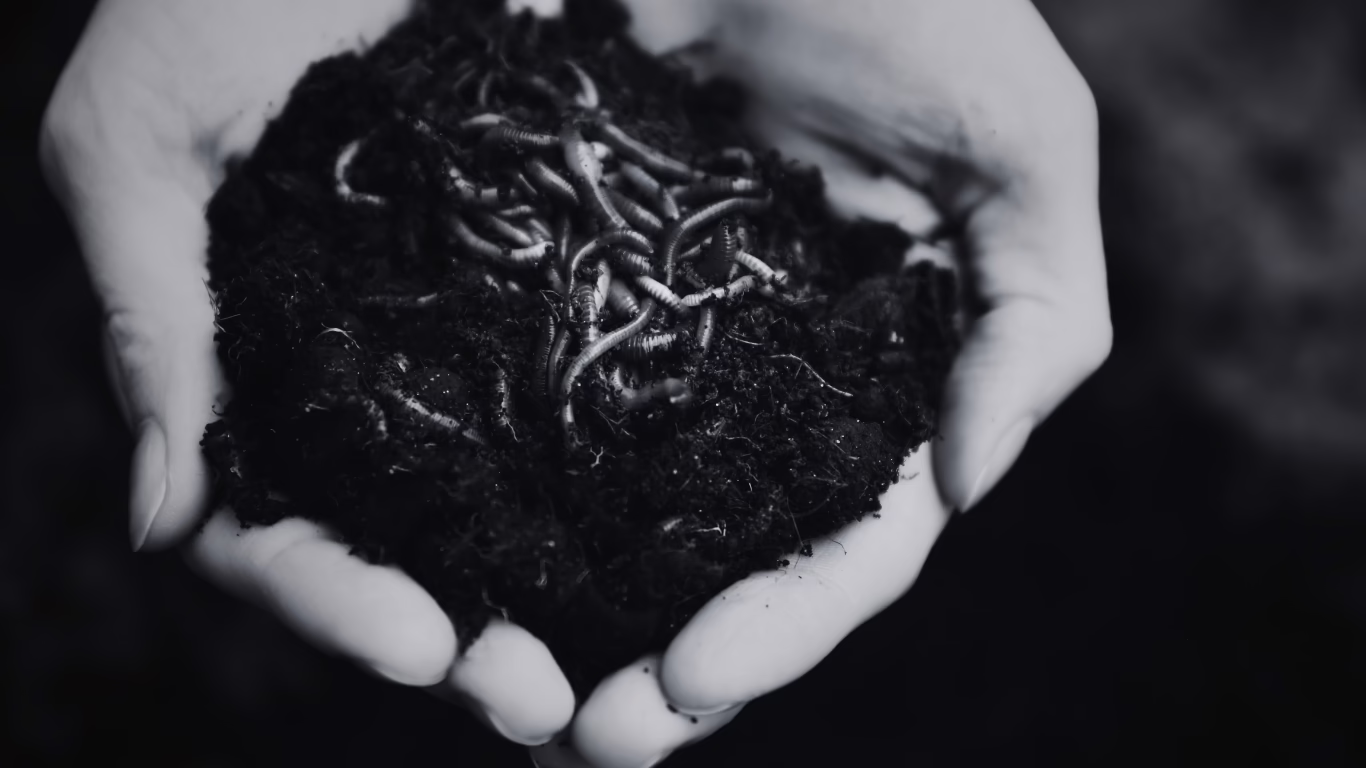
Step 4: Welcome, Worms! Now comes the star of the show – your composting worms. Red wigglers (Eisenia fetida) and tiger worms (Eisenia andreii) are perfect for wormeries. We use Eisenia fetida, get your hands on a pound or two of these wiggly wonders and gently introduce them to their new home. Lay them on top of the bedding layer and let them explore. You can find them online used for fishing bait amongst other suppliers. Remember they won’t survive like earth worms as they don’t burrow into the soil as they are surface feeders and they will eat their weight in organic material a day potentially.
Step 5: The Feeding Frenzy Worms need to eat, too! Feed them a balanced diet of kitchen scraps like fruit and vegetable peels, coffee grounds, tea leaves, and crushed eggshells. But avoid meats, dairy products, oily foods, and acidic items like citrus. Bury the food scraps under the bedding and let the worms go to town! Ours particularly like corn …
Step 6: Moisture Matters Keep an eye on the moisture levels in your wormery. It should be moist but not waterlogged. If it feels too dry, add a bit of water. If it’s too wet, add some dry bedding material. Remember, worms like a comfortable, damp environment.
Step 7: Patience, Grasshopper Sit back and relax as your worms work their magic. They’ll munch away on the organic matter, transforming it into glorious compost. Be patient and allow them time to do their thing. In a few months, you’ll have a batch of nutrient-rich worm castings ready to use.
Step 8: Keep on Keeping on. If you are using a multiple stacking system, you can place the next layer once one is filled (The one sitting over the moisture capture bucket that is … your bottom container should always catch the water for draining otherwise they’ll get too wet). And simply place the scraps into this new layer …. the worms will move towards the food source and start to inhabit the next layer.
Step 9: Harvesting. The worm tea (correctly called worm casting leachate) is straight forward you just need to drain it from the tap. The worm castings or vermicast can be gathered by removing the layer that’s filled and sifting it with a sieve to remove the vermicast but keep the worms and place them back into the wormery once you’re done. Then all you need to do is continue the cycle.
If you need a visual how to with this, I’d suggest this tutorial on youtube
Congratulations, my fellow worm devotees! By embracing the wiggly wonders of a wormery, you’re not only managing waste sustainably but also enriching your garden and promoting a healthy ecosystem. I hope this short guide helps you feel equipped to build your very own wormery and witness nature’s incredible recycling process first hand. I find there is something of the sacred and animate in this process as well – the cycle of life and all that it represents. So, gather your materials, give those worms a warm welcome, and embark on a journey of organic gardening and environmental stewardship. You can soon call yourself the sovereign of worms – Happy composting!
There are some really great instructions here if you want to read more
